

Table of Contents
- Define Your Wedding Budget and Guest Count
- Establish Venue Capacity and Priority Tiers
- Create a Wedding Guest List Template Excel Spreadsheet
- Categorize Guests and Divide Between Families
- Decide Who Gets a Plus One at a Wedding
- How to Cut Wedding Guest List When Space Is Limited
- Track RSVPs, Meal Choices, and Dietary Requirements
- Manage Post-RSVP Logistics and Data Security
Last Updated: August 12, 2026
Define Your Wedding Budget and Guest Count
The foundation of any organized wedding guest list starts with two numbers: your total budget and your venue's maximum capacity. These constraints shape every decision that follows.

Start by determining your overall wedding budget, including every guest-related expense: invitations, meals, beverages, rentals scaled to headcount, and favors. The per-person cost (food, drink, and service) typically ranges from $75 to $200 depending on location and venue type. Divide your total budget by your estimated per-person cost to find your realistic guest count ceiling.
Next, confirm your venue's maximum capacity in writing. This is a hard limit determined by fire codes and safety regulations, not preferences. With these two constraints locked in, you have your target guest count range. If your budget supports 180 guests but your venue holds 120, your realistic number is 120.
Establish Venue Capacity and Priority Tiers
Once you know your hard numbers, create a priority tier system to make cuts fair and defensible when space runs short.
Most couples find that a three-tier system works well. Tier 1 (Must-Have) includes your immediate family, wedding party, and closest friends. Tier 2 (Very Much Want) includes extended family, close friends, and important colleagues. Tier 3 (Nice-to-Have) includes acquaintances, distant relatives, and people you feel obligated to invite but wouldn't miss if they couldn't attend.
Assign each person on your preliminary list to one of these tiers before you build your spreadsheet. When you need to cut, you cut from Tier 3 first, then Tier 2 if necessary. You never touch Tier 1 unless circumstances force you to.
Create a Wedding Guest List Template Excel Spreadsheet
A solid wedding guest list template needs to track names, addresses, contact information, tier assignment, RSVP status, meal choices, dietary restrictions, plus-one details, and seating notes.
Essential column structure:
Core Information:
- Guest Name
- Tier (1, 2, or 3)
- Relationship
- Phone Number
- Email Address
- Mailing Address
RSVP & Event Details:
- Invitation Sent Date
- RSVP Status (Not Sent, Pending, Accepted, Declined, No Response)
- Number of Guests in Party
- Meal Choice
- Dietary Restrictions
- Plus-One Name
- Plus-One Meal Choice
- Seating Assignment
- Notes
This structure keeps everything in one place. You can sort by RSVP status to see who hasn't responded or filter by dietary restriction to give your caterer accurate counts.
Many couples start with spreadsheets they've created themselves, but Ever After Suite's digital wedding planner offers a pre-built guest list template integrated with seating charts, budget tracking, and timeline management, eliminating the need to juggle multiple Excel files or apps. The template automatically calculates headcounts, flags missing information, and syncs across devices.
If you're building your own spreadsheet, use conditional formatting to color-code RSVP status: green for accepted, yellow for pending, red for declined. Add data validation to meal choice and dietary restriction columns so entries stay consistent.
Categorize Guests and Divide Between Families
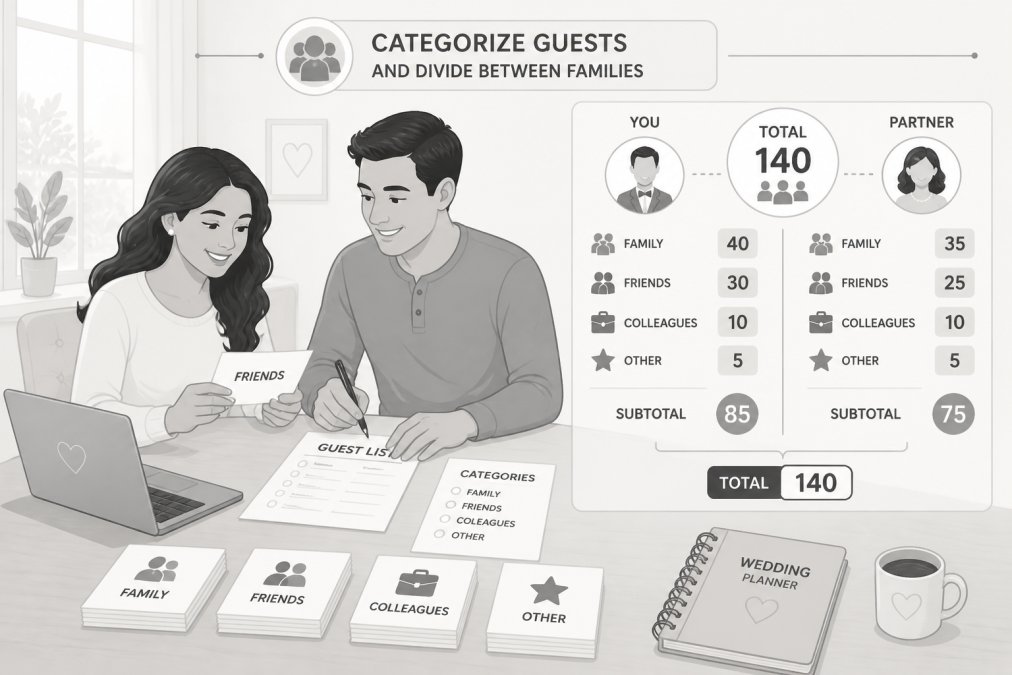
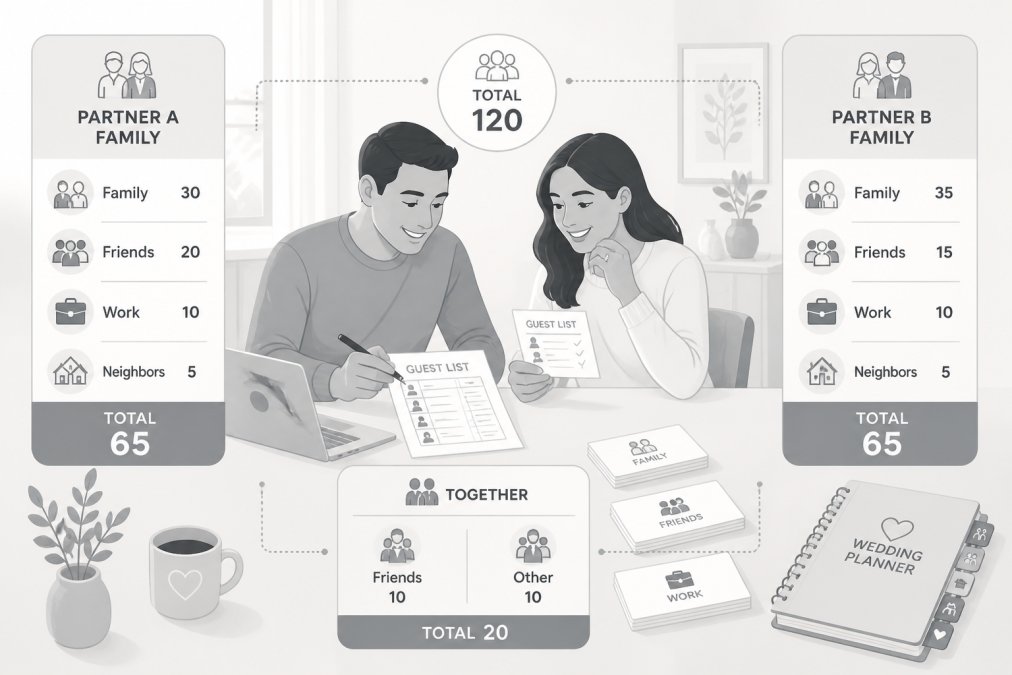
Start by dividing your guest list between your side and your partner's side. Typically, you'll aim for a roughly 50/50 split, though this depends on actual family sizes.
Within each side, distinguish between immediate family (parents, siblings, and their spouses and children) and extended family (grandparents, aunts, uncles, cousins, and in-laws). This distinction matters when you need to make cuts.
Have a conversation with your parents or key family members about their expectations early. You might say: "We're planning for 120 guests total. We'd like to invite 60 from our side and 60 from your side. Here's who we're thinking of including, does this work for you?"
Document these conversations. Write down which family members your parents requested you invite and which they said were optional. This gives you ammunition later if someone feels slighted.
Decide Who Gets a Plus One at a Wedding
Plus-ones create logistical headaches and budget stress. Set a clear policy and stick to it.
The most common approach: offer plus-ones only to guests in committed relationships (married, engaged, or in long-term partnerships). Single guests don't get a plus-one unless they're in your wedding party. This reduces your headcount significantly while still being respectful.
Whatever you decide, communicate it clearly on your invitation. Write: "We're delighted to invite you and one guest" or "We're inviting you to celebrate with us" (no plus-one). Ambiguity creates awkward conversations later.
Track plus-ones separately in your spreadsheet with columns for "Plus-One Name" and "Plus-One Meal Choice." When someone RSVPs, ask them to provide their plus-one's name and meal preference.
How to Cut Wedding Guest List When Space Is Limited
If your preliminary list exceeds your capacity, start by cutting from Tier 3 (Nice-to-Have). Remove everyone you invited primarily out of obligation. This usually gets you 30-50% of the way there.
If you still need to cut more, move to Tier 2. Ask yourself: Would this person be hurt if they found out they weren't invited? If yes, they probably shouldn't be cut.
Document your cuts and have a consistent rationale if someone later asks why they weren't invited. Some couples use a "save the date" approach: send save-the-dates to your full list, then cut to formal invitations later. This gives people notice and time to see who's actually excited about attending.
After you make cuts, don't second-guess yourself. The people on your final list are the people who matter most.
Track RSVPs, Meal Choices, and Dietary Requirements
Set a clear RSVP deadline, typically 3-4 weeks before your wedding. Communicate this deadline on your invitation and in reminder messages.
In your spreadsheet, track RSVP status in a dedicated column. Update it weekly. Two weeks before your wedding, send a reminder to anyone who hasn't responded.
For meal choices, ask guests to select from your planned options when they RSVP. Include a question: "Please select your meal preference: Chicken / Fish / Vegetarian / Vegan." Make it simple, no more than 4-5 options.
Dietary restrictions require separate tracking. Ask: "Do you have any dietary restrictions or allergies we should know about?" Pass this information directly to your caterer.
Create a summary sheet that counts meal choices and dietary restrictions. Your caterer needs to know exact numbers: "We have 85 chicken, 32 fish, 18 vegetarian, and 5 vegan meals. Of those, 7 are gluten-free, 3 have nut allergies, and 2 are kosher."
For plus-ones, require their names and meal preferences. If a guest can't provide their plus-one's details by your deadline, they lose the plus-one.
Manage Post-RSVP Logistics and Data Security
After RSVPs close, your spreadsheet becomes a sensitive document containing names, addresses, phone numbers, and email addresses. Treat it like the personal data it is.
Limit access to your spreadsheet. Share it only with your partner, your parents if they're helping coordinate, and your venue or planner if you're working with one. Don't email it to extended family members or post it publicly.
If you're using a shared document, enable password protection and set permissions to "view only" for anyone who doesn't need to edit. Better yet, use a dedicated wedding planning tool like Ever After Suite that's designed with security in mind, it encrypts your data and keeps everything in one secure location rather than scattered across email attachments.
Back up your spreadsheet regularly. Save a copy to your personal computer and to cloud storage. Do this weekly starting 8 weeks before your wedding.
Create a final guest list document for your venue including guest names, dietary restrictions, seating assignments, and special notes. Provide this 2 weeks before the wedding.
For your caterer, provide a detailed breakdown: total headcount, meal choice counts, dietary restrictions with names attached, and any last-minute changes. Do this 10 days before your wedding, then again 3 days before.
After your wedding, delete or archive your guest list spreadsheet if it contains sensitive information. If you're keeping it for future reference, secure it with a password and store it offline or in encrypted cloud storage.
Organizing your wedding guest list is fundamentally about making hard choices with limited information and managing the emotional fallout that follows. The structure, tiers, spreadsheets, and clear policies take the guesswork out of those decisions. Ever After Suite's integrated guest list, seating, and budget tools simplify this entire process, eliminating the spreadsheet juggling and sync errors that plague most couples. With one unified platform, you track RSVPs, meal preferences, and seating assignments in real-time, and your final headcount automatically updates everywhere it's needed. Get started with Ever After Suite and replace the chaos of scattered spreadsheets with a single, secure system designed specifically for wedding organization.
Frequently Asked Questions
What is the best way to organize a wedding guest list?
Start by defining your total budget and venue capacity, then build a master spreadsheet that includes guest names, contact info, RSVP status, meal choices, and dietary requirements. Organize guests into priority tiers (must-have, important, nice-to-have) and assign them to family groups. Use conditional formatting to highlight RSVP status and track changes in real-time. This approach keeps all guest information centralized and makes it easy to manage updates as RSVPs come in.
How do you decide who gets a plus one at a wedding?
Traditionally, plus-ones are offered to married couples, engaged partners, and guests in long-term committed relationships. Single guests with established partners should receive one invitation for two. Some couples extend plus-ones to all adult guests, while others limit them to the wedding party and close family. Document your plus-one policy clearly in your master guest list spreadsheet and apply it consistently to avoid confusion and hurt feelings.
What should I do if I need to cut my wedding guest list?
Start by reviewing your priority tiers and removing guests from the nice-to-have category first. Then evaluate extended family and social circle connections based on how often you interact with them. Set a firm cutoff date for invitations to give yourself a clear boundary. Have honest conversations with family members who are contributing financially, as they may have input on cuts. Use your spreadsheet to track who you've invited and who you've had to cut to avoid accidentally inviting someone later.
How do I track RSVPs and meal preferences efficiently?
Use a spreadsheet with columns for guest name, RSVP status, meal choice, dietary restrictions, and plus-one details. Set a clear RSVP cutoff date (typically 2-3 weeks before the wedding) and follow up with non-responders via email or phone. Use conditional formatting to color-code responses and flag dietary needs that need attention. This keeps all information in one place and makes it easy to provide your final headcount and meal counts to your venue and caterer.
This article was written using GrandRanker